
The admin bar (or toolbar) at the top of WordPress is full of links your clients never need: the WordPress logo, comments, “New” menus from every plugin. The Admin Bar Editor in Ultimate Dashboard PRO lets you hide, rearrange and add admin bar items, per user role or per user.
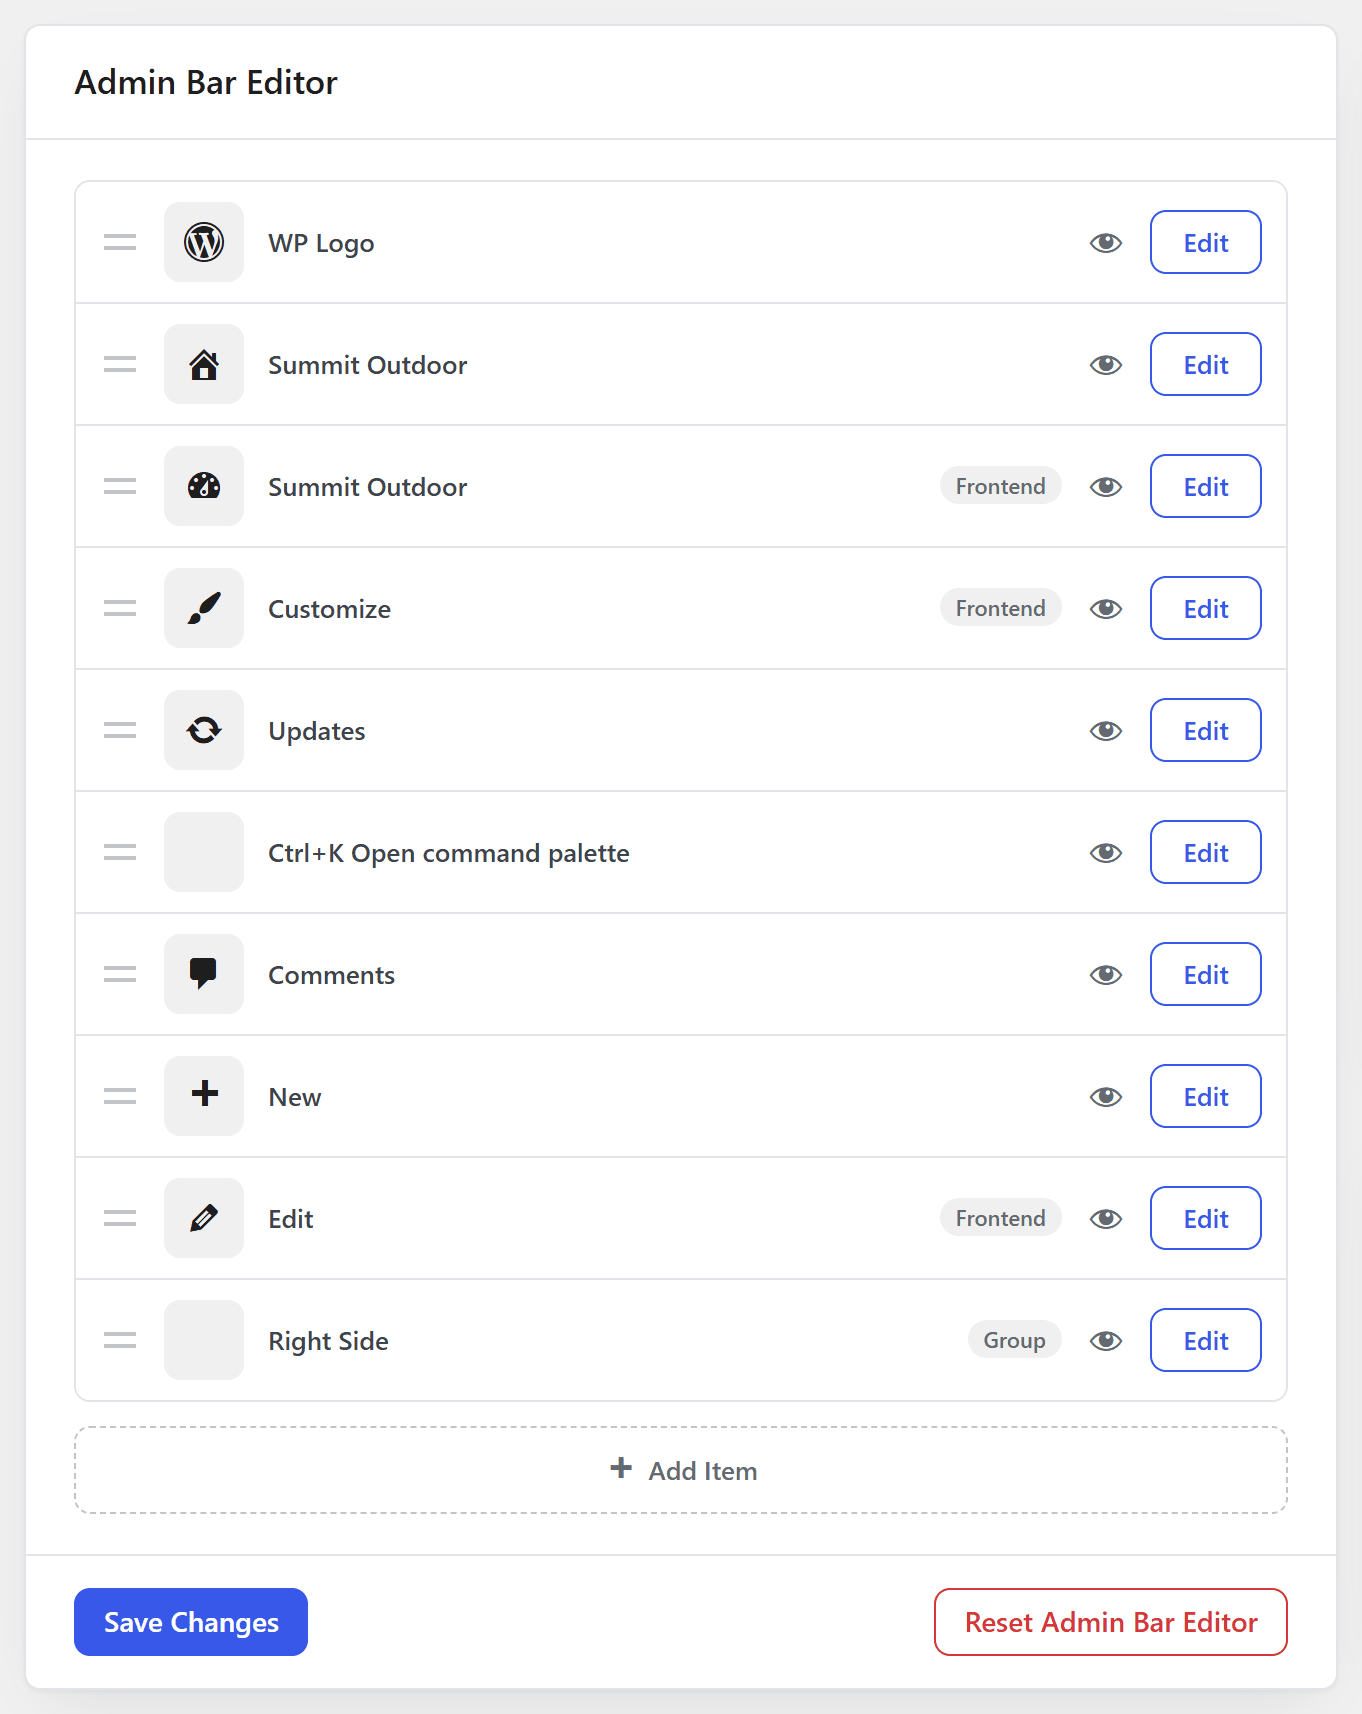
What you can do
- Hide admin bar items for specific user roles or users
- Rearrange admin bar items with drag & drop
- Rename items, change their link and icon
- Add your own items and submenus (up to 3 levels deep)
Edit the admin bar
- Go to Ultimate Dash… → Admin Bar Editor.
- Drag items to change their order. Click an item to change its Menu Title, Menu URL or Menu Icon.
- To hide an item, choose the roles under Hide from specific role(s) or the people under Hide from specific user(s).
- Click Add Item to add your own link.
- Click Save Changes.
Reset Admin Bar Editor brings back the default WordPress admin bar.
Hide the admin bar on the frontend (free)
Don’t want the admin bar on your website at all for some users, for example subscribers or customers? That’s free: on the same screen, use the Visibility box, tick the roles (or All) and click Save Changes. The admin bar stays visible inside the WordPress admin area. Step by step: hide the admin bar on the frontend.
Want more control over the admin bar on the frontend? Our free plugin Better Admin Bar can auto-hide it or replace it with a cleaner panel.
Placeholder tags
In the title and URL fields you can use placeholder tags: {site_name} and {site_url}, and on multisite networks also {blueprint_name} and {blueprint_url}.
On a multisite network the admin bar of the blueprint site applies to all sites. Super admins always see the full admin bar.