
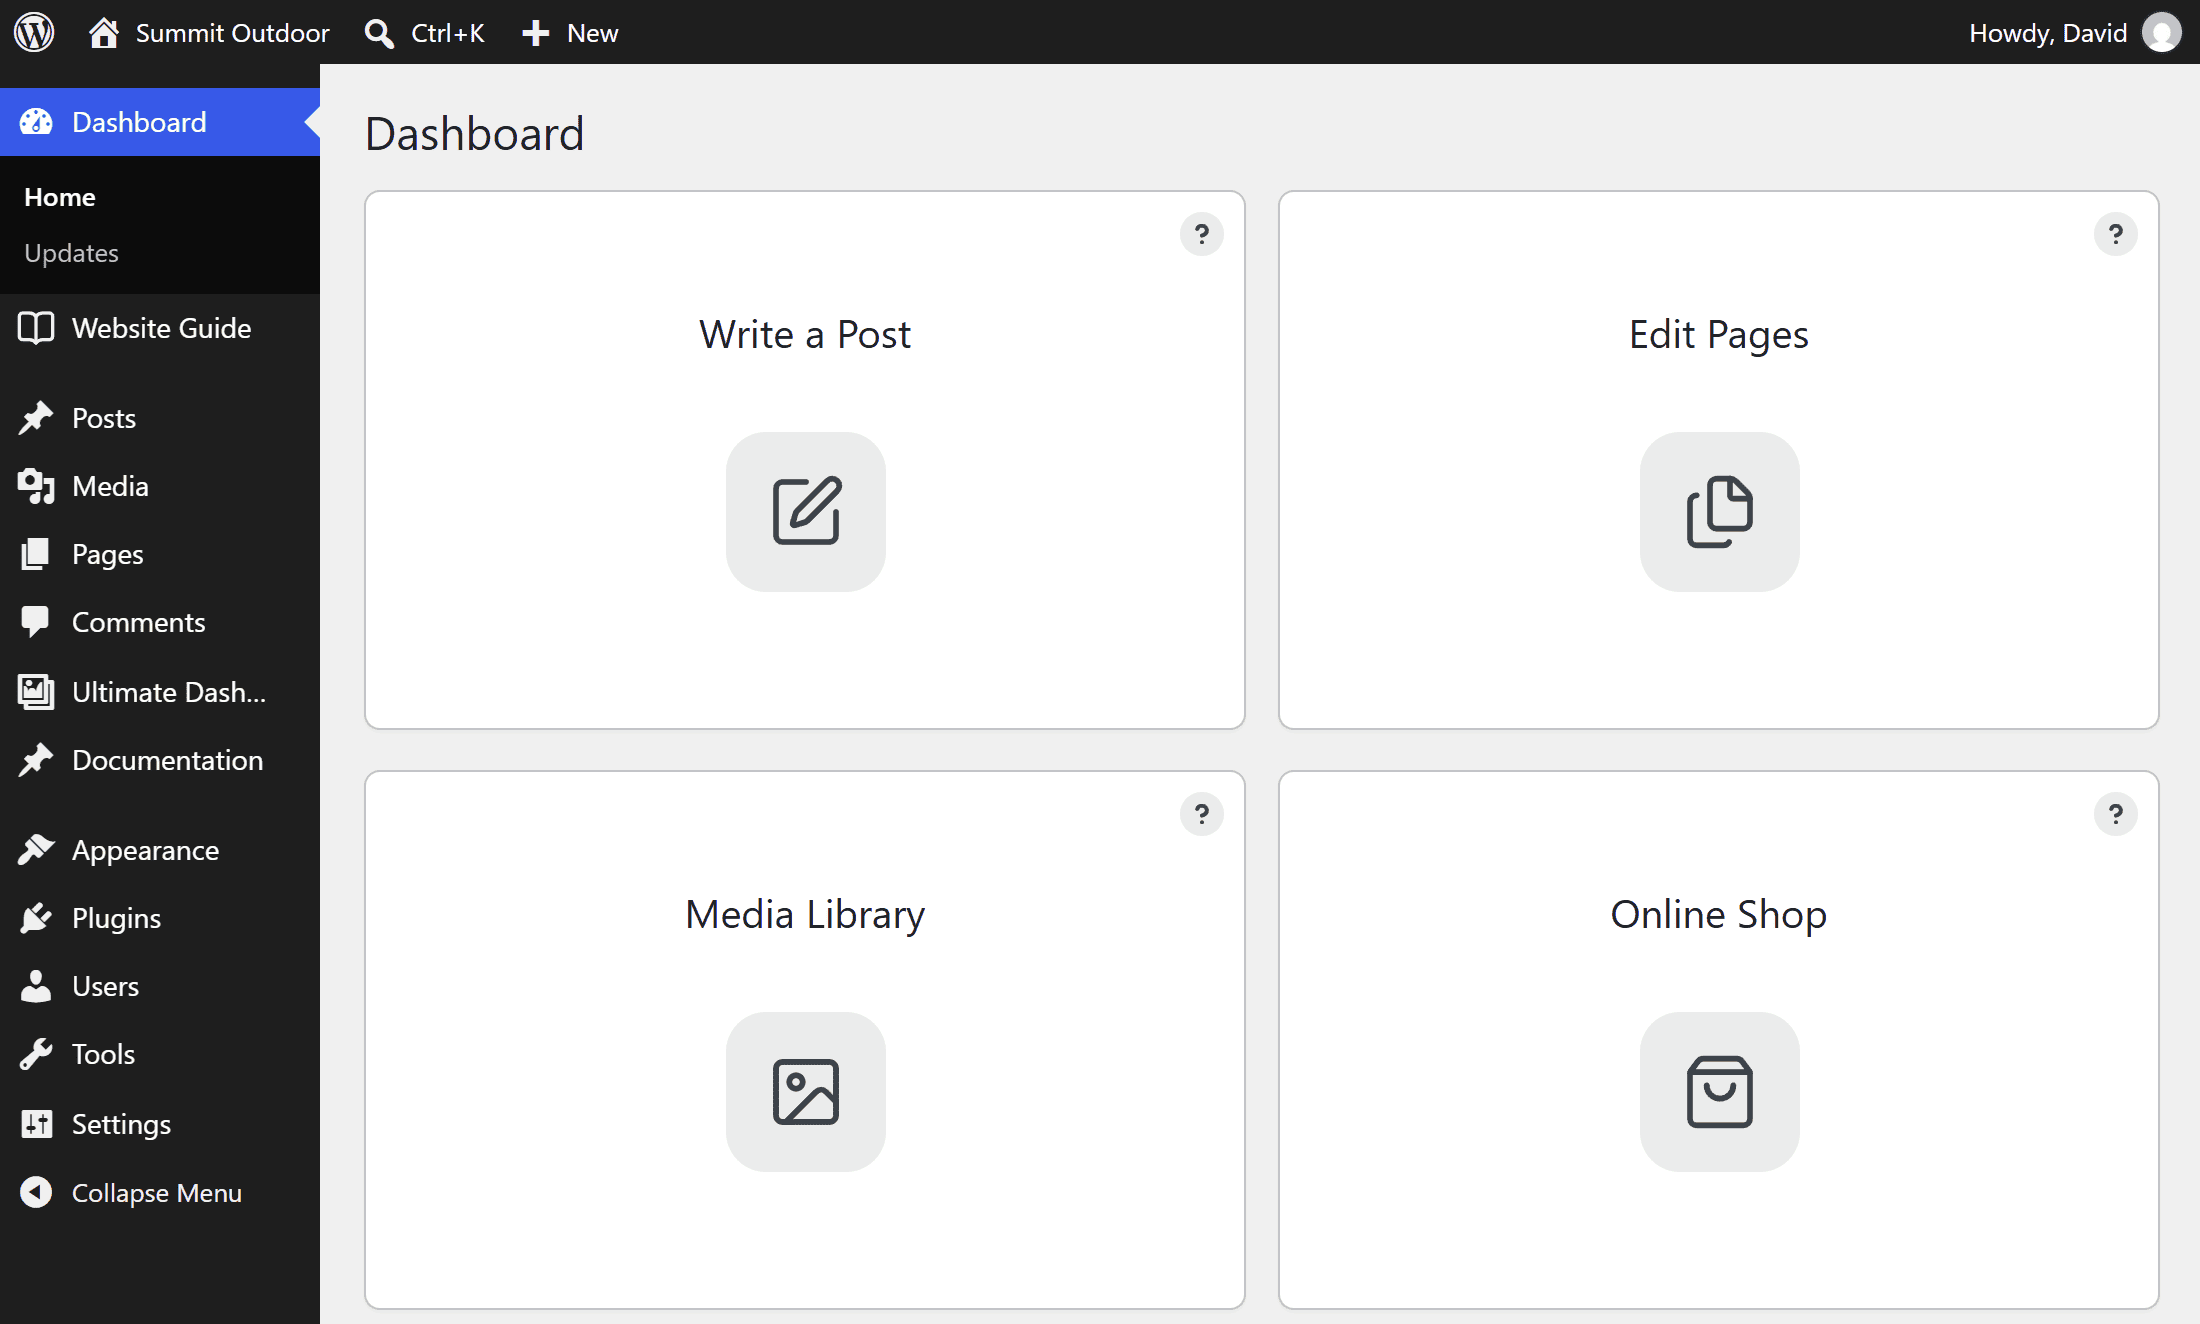
Icon widgets are the heart of a custom client dashboard: big, clickable tiles with an icon and a title that take your clients straight to the places they need, like “Edit pages”, “New blog post” or “Contact support”. The icon widget is free in Ultimate Dashboard.
Create an icon widget
- Go to Ultimate Dash… → Add New.
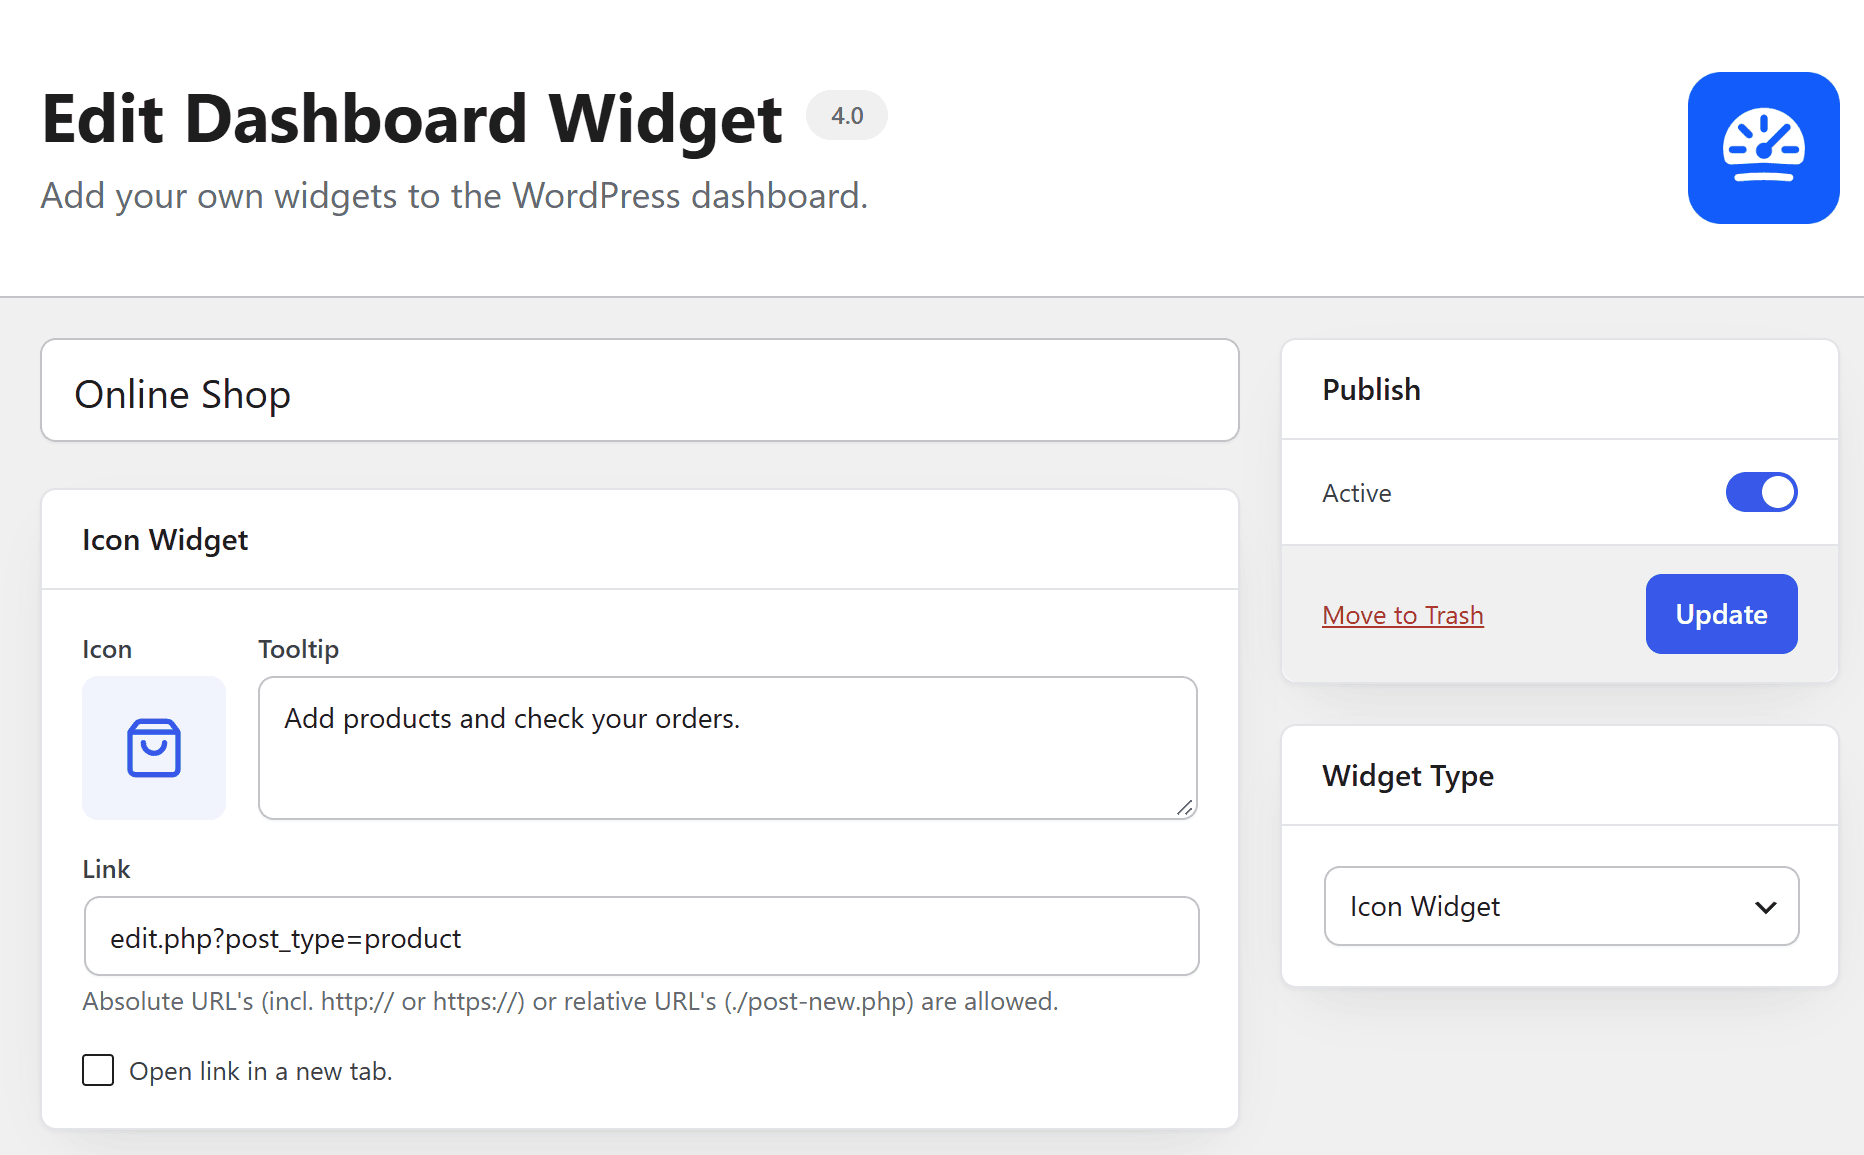
- Enter a title, it’s shown under the icon.
- Choose Icon Widget as Widget Type.
- Pick an Icon from the icon library or the WordPress Dashicons.
- Enter the Link. Tick Open link in a new tab if needed.
- Optional: add a Tooltip, a short explanation that shows up behind a small “?” on the widget.
- Click Publish. The widget is now on the dashboard.
Which links work?
- Full URLs, including
https://, for example a page on your website, your support page or a tutorial. - Relative admin URLs, for example
./post-new.php(new post) or./edit.php?post_type=page(all pages). These work on every site, which is great when you move your setup to another site.
Change the icon and title colors for all widgets under Settings → Dashboard Widget Styling. Remove the default WordPress widgets there too, so your icon widgets get all the space.