
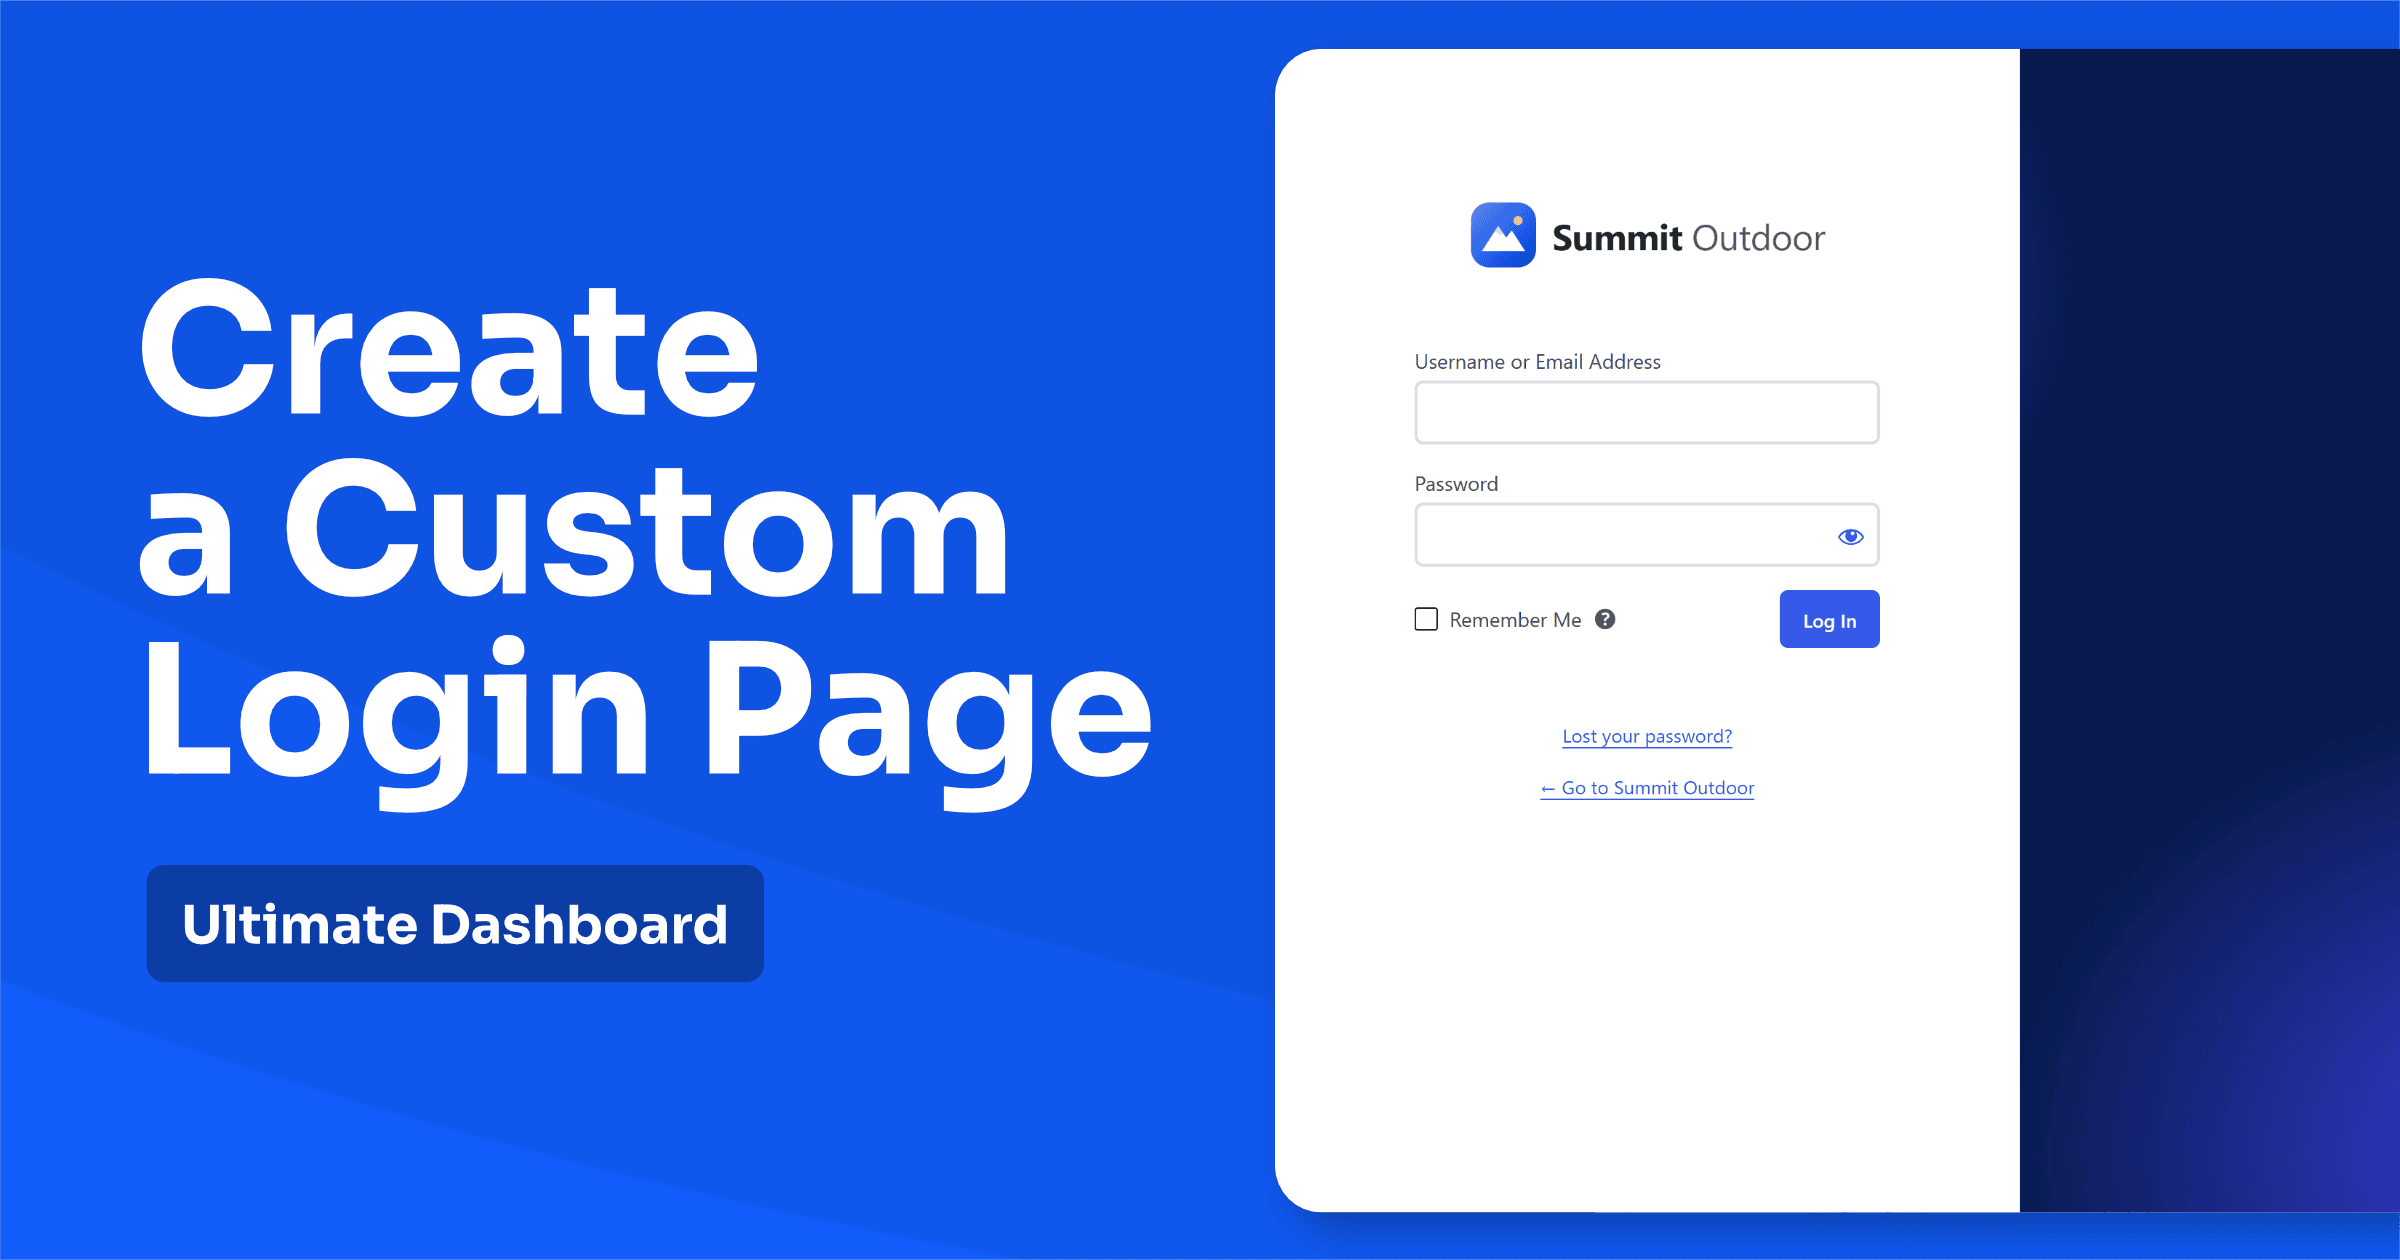
The default WordPress login page looks the same on millions of websites: a WordPress logo, a plain white box and a grey background. For your own site, that’s fine. For a client site or a membership site, it looks unfinished.
A custom WordPress login page with your logo, colors and background makes the login feel like part of your website instead of a generic WordPress screen.
In this guide, I’ll show you how to customize every part of the WordPress login page with the free Ultimate Dashboard plugin, with a live preview and without writing a single line of code. It takes about 10 minutes.
Why Customize the WordPress Login Page?
- Branding: your clients, members or customers see your brand, not WordPress’.
- Trust: a login page that matches the rest of your website looks more professional and less like a phishing page.
- A better handover: if you build websites for clients, a branded login is the first thing they see every day.
What You Need (Free vs. PRO)
Almost everything in this guide works with the free Ultimate Dashboard plugin. Ultimate Dashboard PRO adds two extra layouts:
| Feature | Free | PRO |
|---|---|---|
| Custom logo, background & colors | ✓ | ✓ |
| Form, input field & button styling | ✓ | ✓ |
| Hide footer links & language switcher | ✓ | ✓ |
| Custom CSS | ✓ | ✓ |
| Custom login URL & login redirect | ✓ | ✓ |
| Left & right login form layouts | – | ✓ |
Step 1: Install Ultimate Dashboard
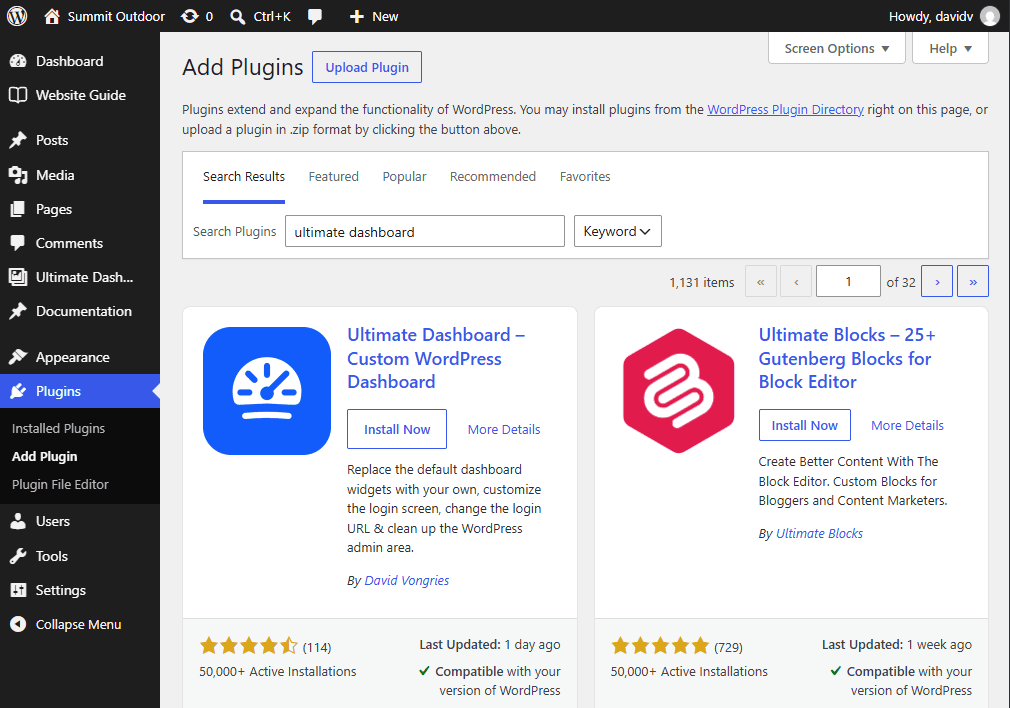
In your WordPress admin, go to Plugins > Add New, search for “Ultimate Dashboard”, then install and activate it. If you want the left or right layouts, also install Ultimate Dashboard PRO (here’s the installation guide).
Step 2: Open the Login Customizer
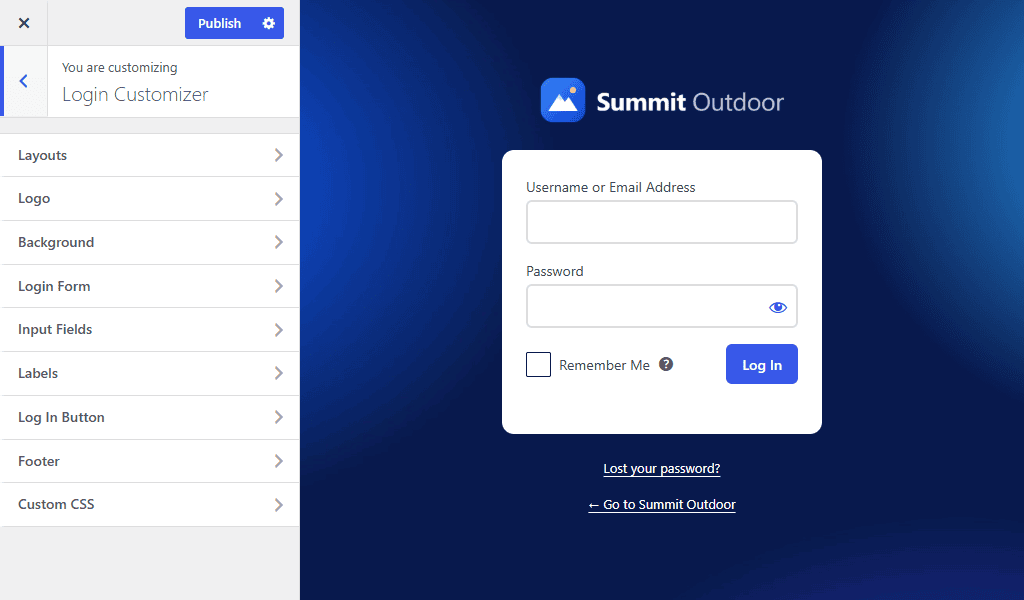
Go to Ultimate Dash… > Login Customizer. This opens the WordPress customizer with a live preview of your login page, so you see every change right away.
Step 3: Customize Each Part of the Login Page
On the left, you’ll find a section for every part of the login page:
- Layouts: the default centered layout, or a left- or right-aligned form with PRO.
- Logo: replace the WordPress logo with your own, set its height, and choose where it links to and its title.
- Background: set a background color or image, and control its position, size and repeat.
- Login Form: style the box that holds the form.
- Input Fields: set the height, padding, border width, corner radius and font size, plus text, background and border colors (also for when a field is selected).
- Labels: change the color of the “Username” and “Password” labels.
- Log In Button: set the height, padding and corner radius, plus text and background colors (also on hover).
- Footer: change the link colors, and hide the “Register | Lost your password?” link, the “Back to website” link or the language switcher.
- Custom CSS: for anything else, add your own CSS.
Example: My Custom Login Page
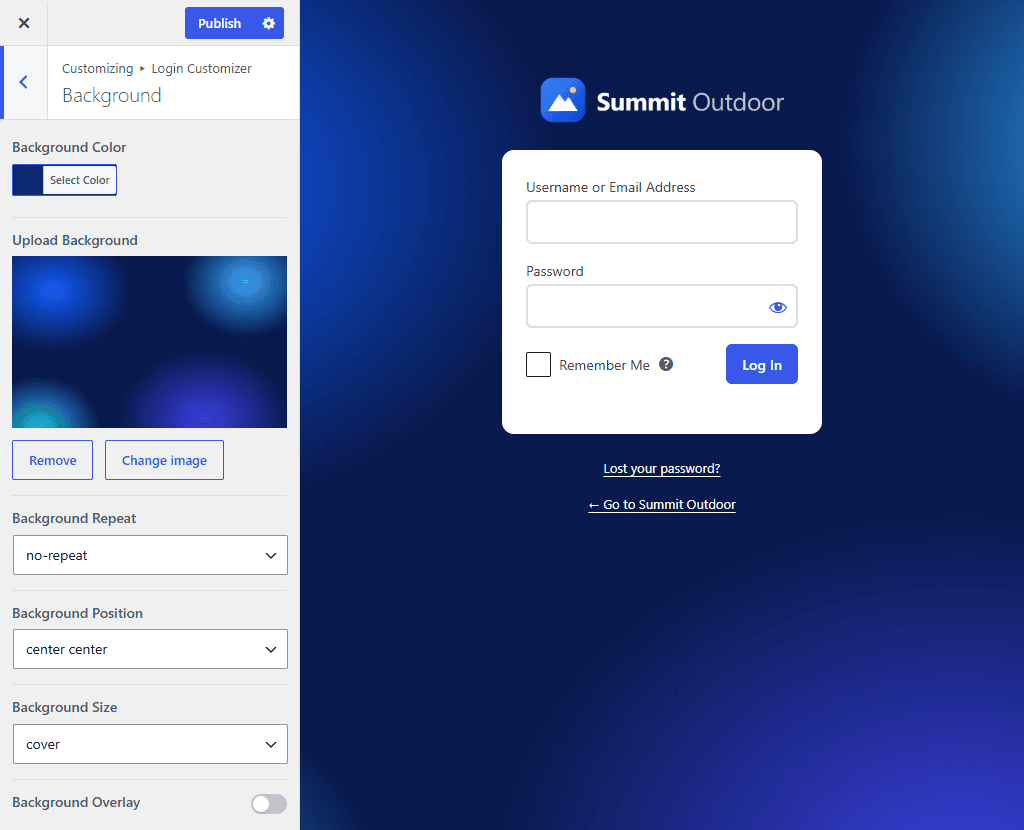
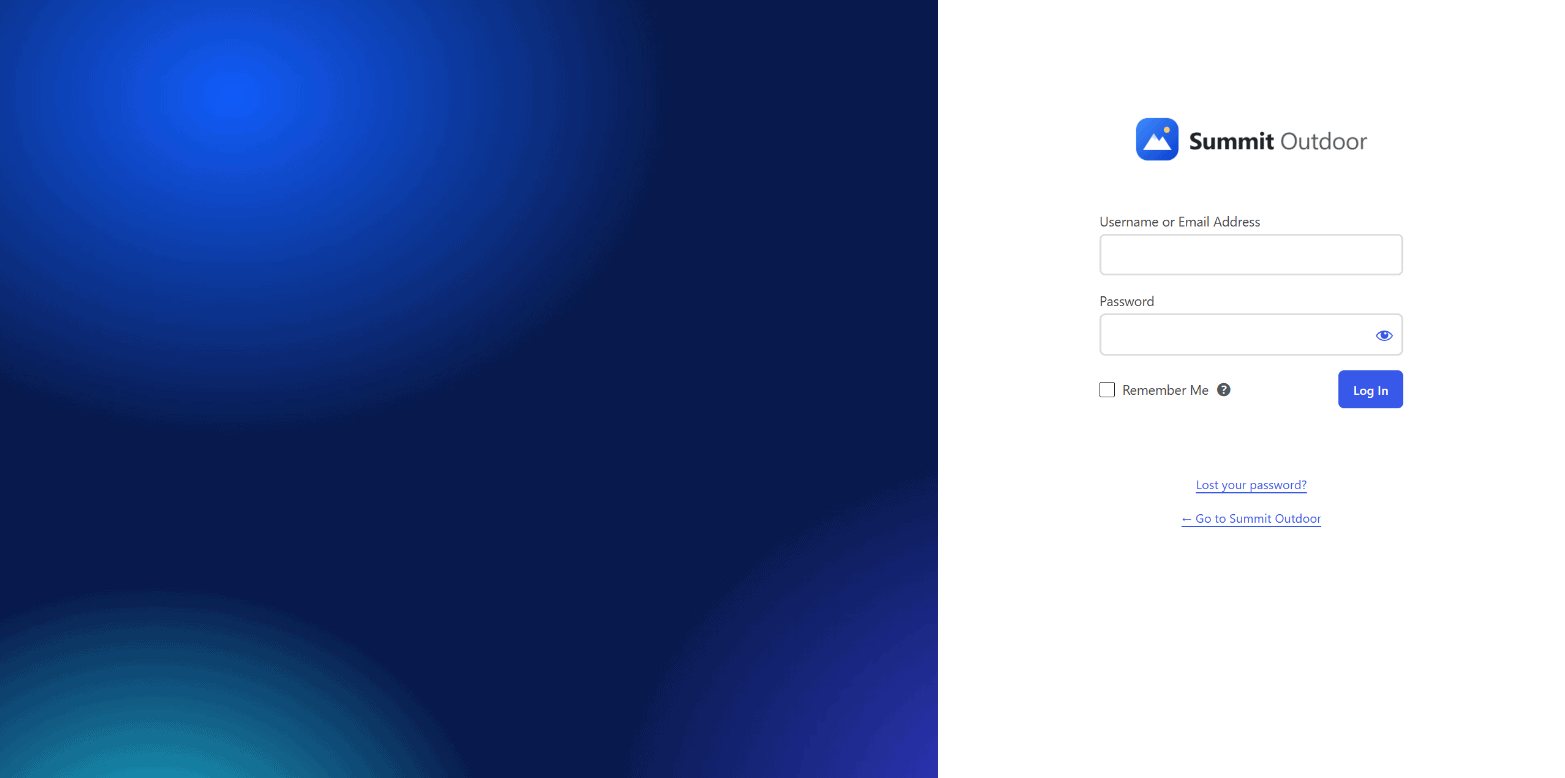
Here’s what I changed for the login page in the screenshot below:
- Layout: the right-aligned layout (PRO).
- Logo: my own logo, with a custom logo title.
- Background: a custom image, positioned “center center”, set to cover and not repeating.
- Login form: a wider box with 25px padding at the top and bottom.
- Input fields: mostly the defaults, with my brand color for the border and selected border.
- Log in button: my brand color as the background, plus a bit more padding.
Step 4: Publish Your Login Page
When you’re happy with the preview, click Publish at the top of the customizer. Your custom login page is now live:
Go Further: Change the Login URL and Redirect Users
Once your login page looks right, two more free settings are worth a look under Ultimate Dash… > Login Redirect:
- Custom login URL: move the login page from /wp-login.php to an address of your choice, which keeps most bots away from it.
- Redirect after login: send each user role to the right page after logging in, like the dashboard, a custom admin page or the front end.
Learn how in our guide to custom login URLs and login redirects. And to make the rest of the admin area match your login page, check out how to create a custom WordPress admin dashboard.
Frequently Asked Questions
Can I customize the WordPress login page without a plugin?
Yes. You can load your own CSS on the login page through your theme’s functions.php file with the login_enqueue_scripts hook, and change the logo link with the login_headerurl filter. It works, but you’ll be writing CSS without a preview, and your changes are tied to your theme. A plugin gives you a live preview and keeps working when you switch themes.
Is the Ultimate Dashboard login customizer free?
Yes. The login customizer is part of the free Ultimate Dashboard plugin. Only the left and right form layouts need PRO.
Does it work with my theme?
Yes. The login page isn’t part of your theme, so the login customizer works with any WordPress theme.
Can I change the WordPress login URL too?
Yes, also with the free version. See our guide to changing the WordPress login URL.
What happens if I deactivate the plugin?
The login page goes back to the default WordPress look. Your settings are kept, so everything is back as soon as you activate the plugin again.
Create Your Custom Login Page Today
It took me about 10 minutes to go from the default WordPress login to a fully branded one. Comparing plugins first? See Ultimate Dashboard vs. White Label CMS. Or give it a try right away with the free Ultimate Dashboard plugin, and upgrade to Ultimate Dashboard PRO when you want more layouts and the full white-label experience. Building sites for clients? Here’s how to white label WordPress for your clients.
Questions or ideas? Let me know in the comments below.
Leave a Reply