
When you hand over a website, the first thing your client sees is the WordPress login page, followed by a dashboard full of WordPress news, plugin ads and menus they’ll never use. It works, but it doesn’t feel like their website, and it doesn’t feel like your work.
White labeling fixes that. In this guide, I’ll walk you through every part of WordPress you can white label, from the login page to the admin footer, and show you how to do it without code.
What Does It Mean to White Label WordPress?
White labeling WordPress means replacing WordPress’ branding with your own (or your client’s) and tailoring the admin area to what the client actually needs. In practice, that’s three things:
- Your branding: your logo, colors and name instead of WordPress’.
- Less clutter: no WordPress news, plugin ads or menus the client doesn’t need.
- Helpful content: your contact details, instructions and shortcuts, right where the client looks.
Why White Label WordPress for Clients?
- It looks professional. A branded admin area makes the whole project feel finished and custom-made.
- Fewer support requests. Clients who only see what they need get lost less often and break less.
- Your brand stays in view. Every time the client logs in, they see your agency, which is exactly who they’ll call for the next project.
What You’ll Need
Everything in this guide is done with Ultimate Dashboard. Many steps work with the free version; the rest need Ultimate Dashboard PRO. Each step below says which.
1. Brand the Login Page (Free)
The login page is the first thing your client sees. Go to Ultimate Dash… > Login Customizer to add your logo, a background image and your brand colors, with a live preview. Left- and right-aligned form layouts need PRO.
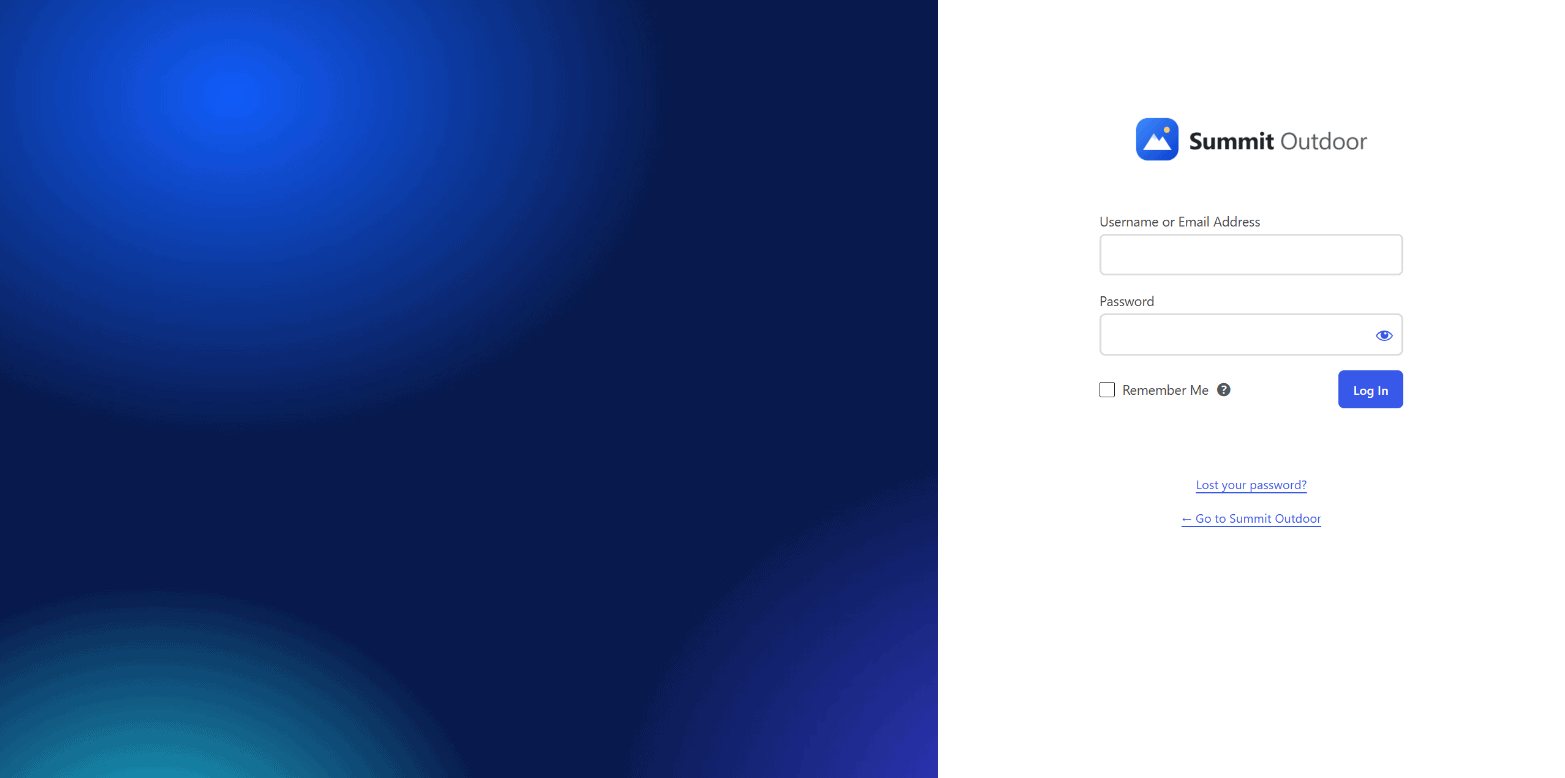
Full walkthrough: how to create a custom WordPress login page.
2. Change the Login URL (Free)
/wp-login.php and /wp-admin give away that the site runs on WordPress, and they attract bots. Under Ultimate Dash… > Login Redirect, set a custom login URL like /client-login, and send each user role to the right page after logging in.
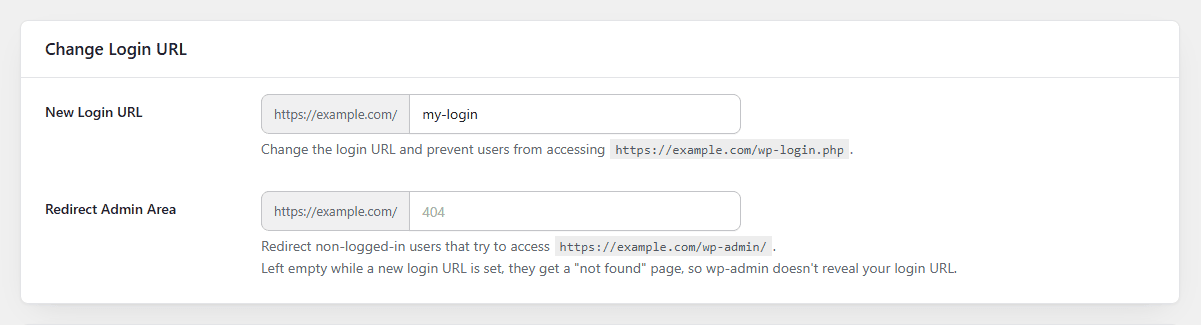
Full walkthrough: how to change the WordPress login URL.
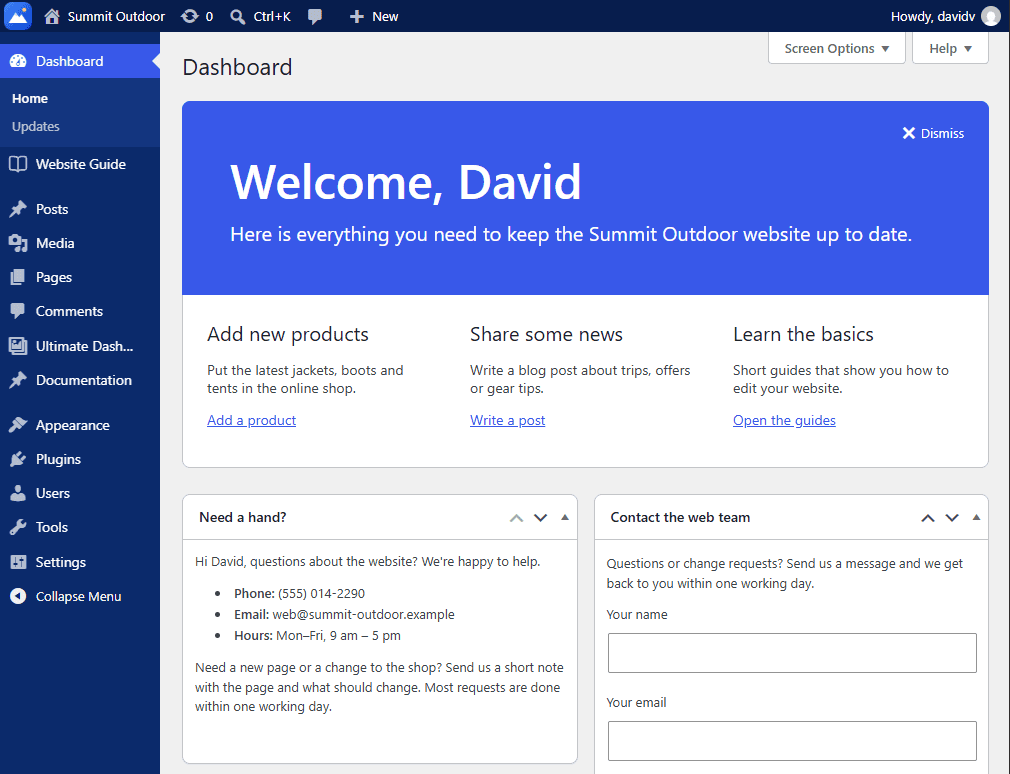
3. Clean Up and Customize the Dashboard
- Remove the default widgets (free): under Ultimate Dash… > Settings > Dashboard Widgets. Widgets added by other plugins can be removed with PRO. See how to remove WordPress dashboard widgets.
- Add your own widgets (free): a support widget with your contact details, shortcuts to the most-used screens, or instructions. PRO adds video and contact form widgets.
- Change the dashboard headline (free): replace “Dashboard” with something like “Welcome to Your Website”.
- Customize the welcome panel (PRO): a personal greeting with your client’s name.
- Build the whole dashboard with a page builder (PRO): design it in Elementor, Divi, Bricks, Breakdance and more.
Full walkthrough: how to create a custom WordPress admin dashboard.
4. Simplify the Admin Menu (PRO)
With the Admin Menu Editor under Ultimate Dash… > Admin Menu Editor, you can hide, rename, reorder and add menu items for each user role or user. Hide Tools, plugin settings and anything else the client doesn’t need, and add a “Support” link to your agency.
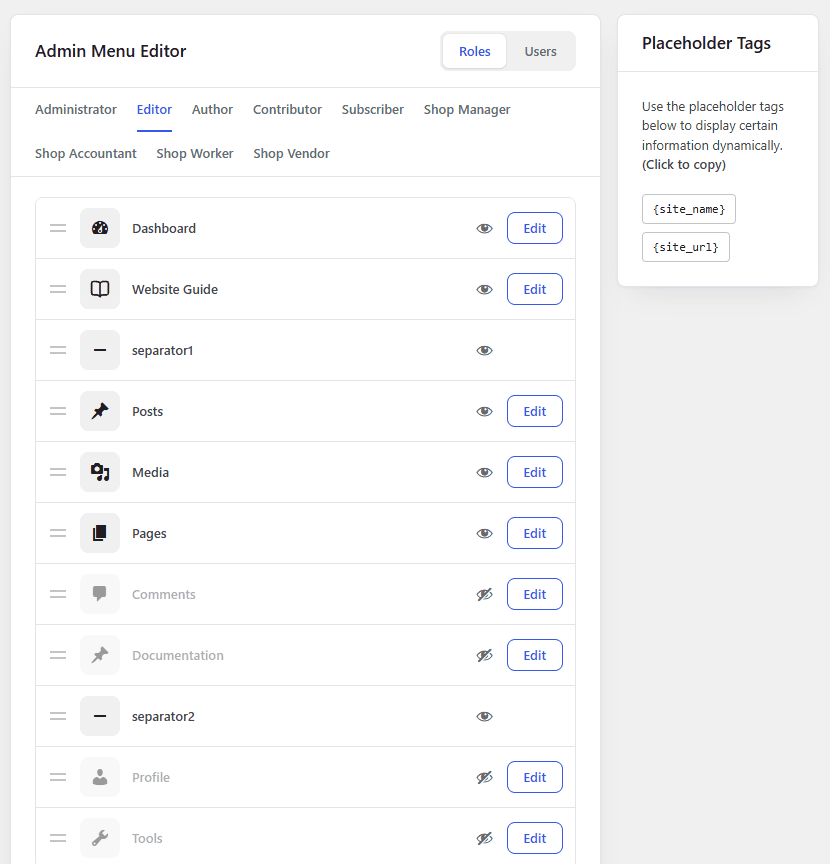
Full walkthrough: how to hide admin menu items in WordPress.
5. Customize the Admin Bar
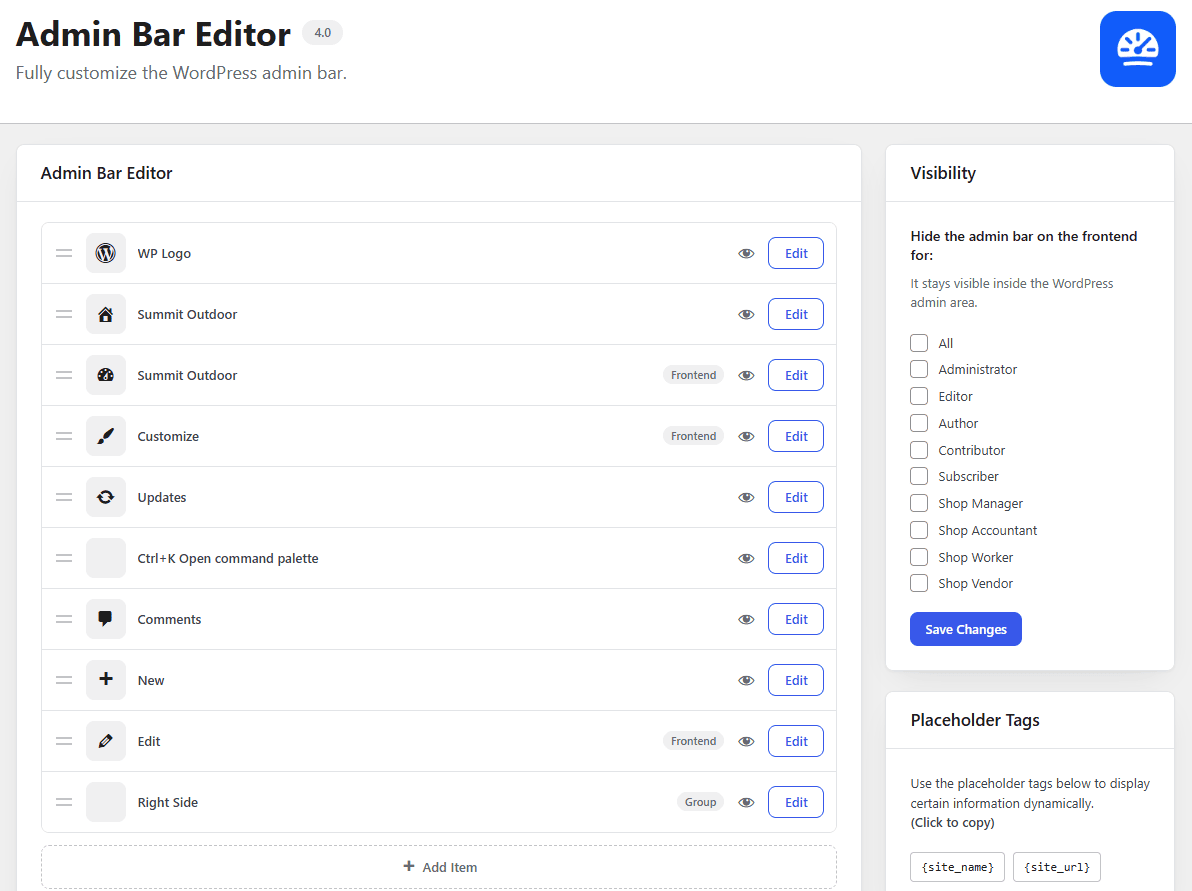
- Hide the admin bar on the front end (free): for chosen user roles, in the sidebar of Ultimate Dash… > Admin Bar Editor. Great for customers and members who shouldn’t see it at all.
- Edit the admin bar (PRO): hide, rename and re-link items, add your own, and hide items for specific roles or users.
- Replace the WordPress logo (PRO): put your own logo in the top left corner, linked to wherever you want.
6. Apply Your Brand Colors (PRO)
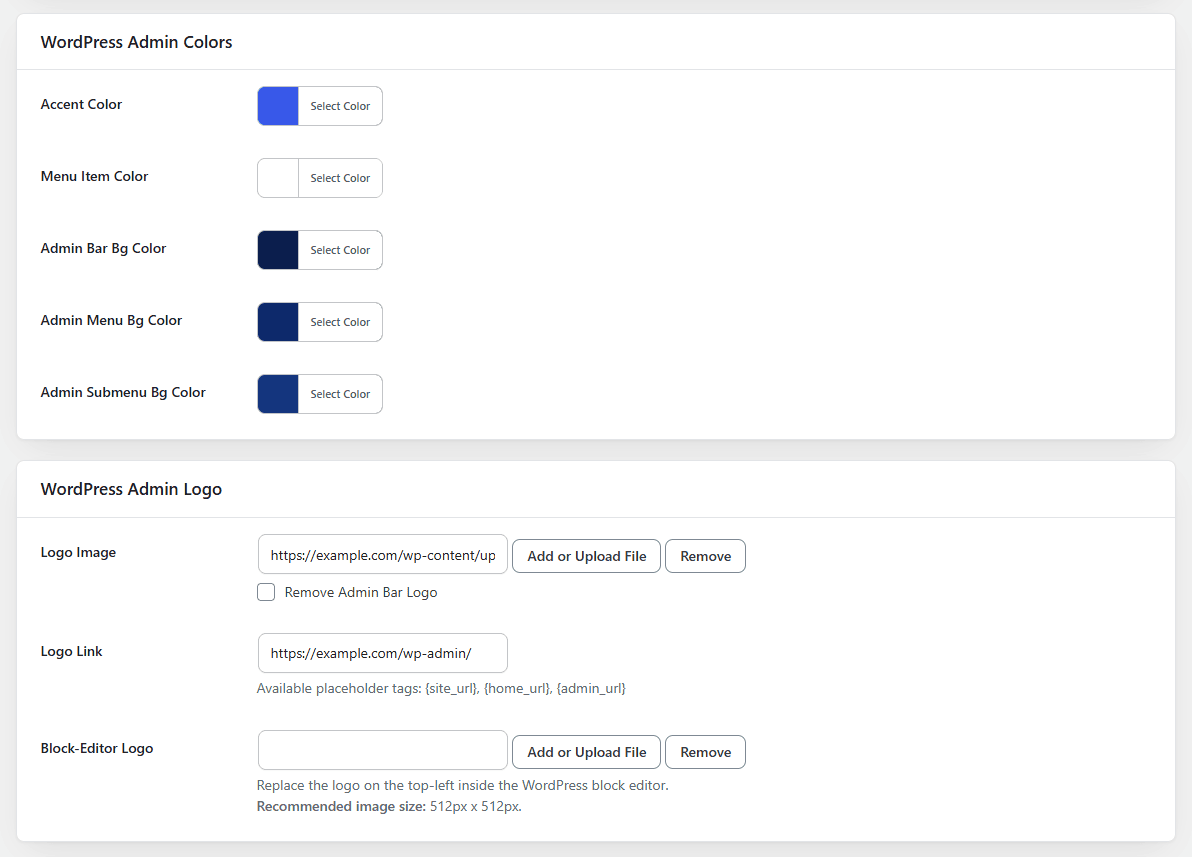
Under Ultimate Dash… > White Label, enable WordPress Admin Branding, choose between the default and a more modern layout, and set your own accent color, menu colors and admin bar color. No CSS needed.
7. Replace the Small WordPress Details (Free)
WordPress’ name hides in a few more places. These are all free:
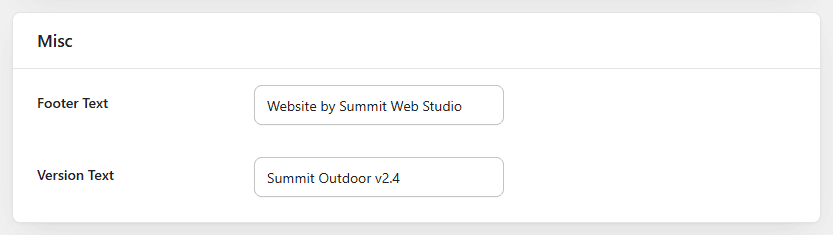
- Footer text: replace “Thank you for creating with WordPress” with your own text and link, under Ultimate Dash… > White Label.
- Version text: replace the WordPress version number in the bottom right corner, in the same place.
- “Howdy” text: change the greeting in the admin bar, under Ultimate Dash… > Settings > General.
- Help and Screen Options tabs: remove them for a cleaner look, in the same place.
8. Add a Help Page for Your Client (Free)
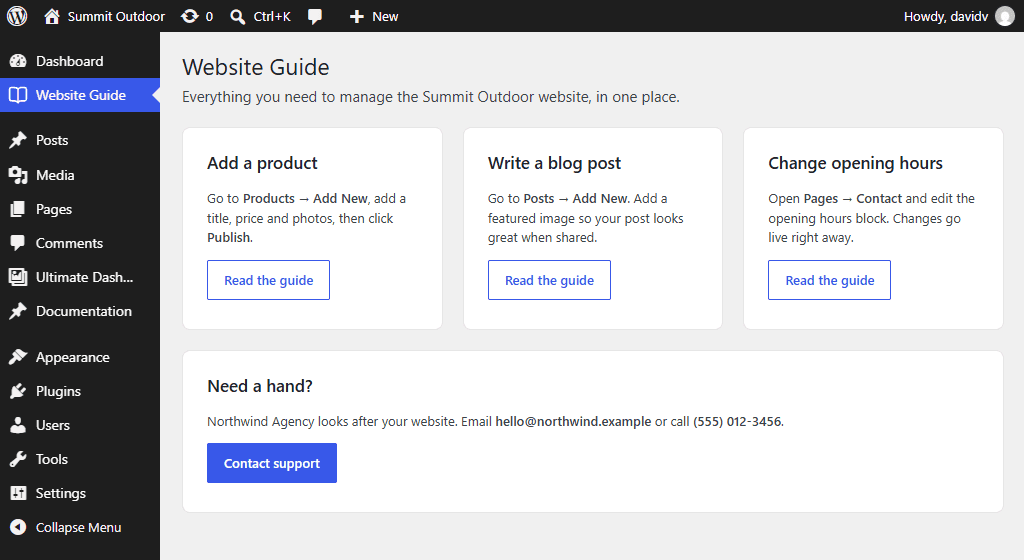
Give your client a page in the admin menu with instructions, tutorial videos and your contact details. See how to create custom admin pages in WordPress.
9. Give Your Client the Right User Role
White labeling works best together with the right user role. If your client only manages content, give them the Editor role instead of Administrator. They can manage all posts and pages but can’t install plugins, switch themes or change settings, so they can’t accidentally undo your white labeling or break the site.
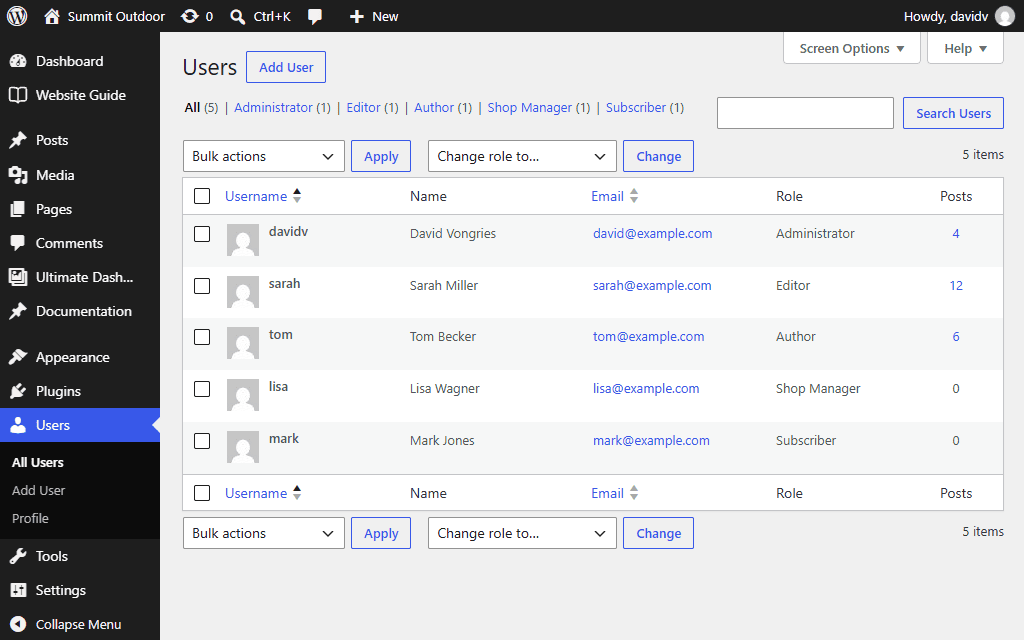
If the client needs an administrator account, use the Admin Menu Editor (PRO) to hide the Ultimate Dashboard menu for them, so your setup stays in place.
White Label Checklist
| What | How | Version |
|---|---|---|
| Login page | Login Customizer | Free |
| Login URL & redirects | Login Redirect | Free |
| Remove WordPress dashboard widgets | Settings > Dashboard Widgets | Free |
| Remove plugin dashboard widgets | Settings > Dashboard Widgets | PRO |
| Custom dashboard widgets | Ultimate Dash… > Add New | Free |
| Welcome panel | Settings | PRO |
| Page builder dashboard | Settings > Page Builder Dashboard | PRO |
| Admin menu | Admin Menu Editor | PRO |
| Hide admin bar on the front end | Admin Bar Editor | Free |
| Edit admin bar & logo | Admin Bar Editor / White Label | PRO |
| Admin colors & layout | White Label | PRO |
| Footer & version text | White Label | Free |
| “Howdy” text, Help & Screen Options tabs | Settings > General | Free |
| Help page for clients | Admin Pages | Free |
Frequently Asked Questions
Is it allowed to white label WordPress?
Yes. WordPress is open source under the GPL license, and you’re free to change how the admin area looks. White labeling is common practice for agencies and freelancers.
Will WordPress updates undo my white labeling?
No. Ultimate Dashboard stores its settings separately, so they stay in place when WordPress, your theme or the plugin itself updates.
Can I white label a WordPress multisite network?
Yes. Ultimate Dashboard PRO supports multisite, so you can set up the white labeling once and use it across the sites in your network.
Which white label plugin is best?
It depends on how much control you need. We compared the two most popular options here: Ultimate Dashboard vs. White Label CMS.
Start White Labeling Today
You don’t have to do everything at once. Start with the free steps: brand the login page, change the login URL, clean up the dashboard and add a help page. That alone makes a big difference. When you’re ready for the full experience, Ultimate Dashboard PRO adds the menu editor, admin colors and much more.
Leave a Reply